How to Convert Any Website into a Professional Android App: The Ultimate Guide

Table of Contents
- Introduction: How to Convert Any Website into a Professional Android App
- Understanding Your Options
- Preparations Before Conversion
- Step-by-Step Guide: Convert Your Website
- Choosing the Right Tool: A Comparison
- Customizing and Branding Your App
- Testing Your Android App
- How To Publish Your App On Google Play Store
- Maintaining and Updating Your App
- Frequently Asked Questions (FAQ)
- Conclusion
Introduction: How to Convert Any Website into a Professional Android App
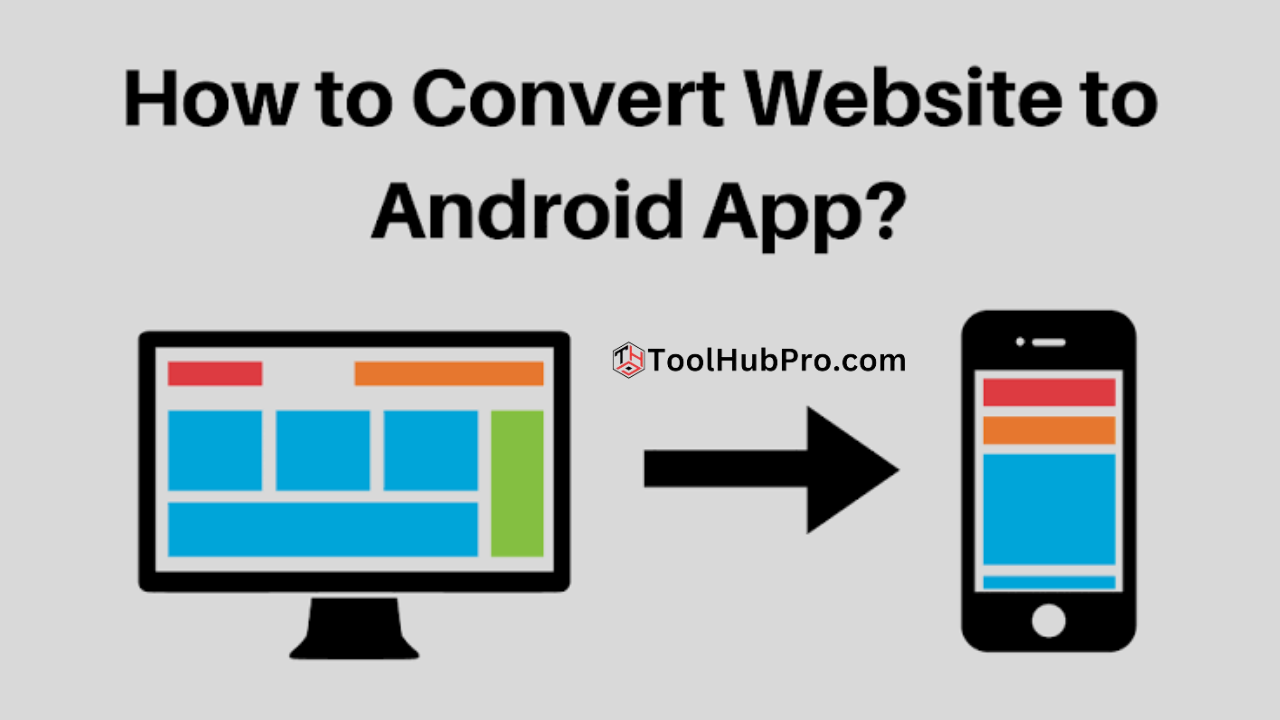
Mobile app presence is an absolute must, rather than having a choice in this digital age. Since billions of Android devices are in use worldwide, this is one platform that businesses, bloggers, and entrepreneurs can no longer afford to ignore. But if you already have a website? Transforming your website into a professional Android app is achievable- and pretty easy.
This detailed guide will explain everything needed to convert any website into a high-quality Android application. Whether you are a tech novice or a professional developer, this post covers all key aspects stepwise, listing the tools you need, monetization tips, and even answering common questions. Let’s get started!
Moving on, you must be wondering, what is the point of converting a website into an Android app, anyway?
Now, before we get into the technicalities, let me tell you the reason why converting your website to an Android app is a good idea:
- Broader Reach: Access to a large number of Android users.
- Improved Engagement — Push notifications, offline access, and the enhanced navigation experiences apps provide translate into more meaningful engagement with your users.
- Brand Image: An application amplifies the credibility and professionalism of your brand.
- Monetization: Apps can earn money from ads, in-app purchases, or subscriptions.
- Retention and Loyalty: Apps keep the users retained and loyal.
Understanding Your Options
In the case of a website to Android app converter, you typically have three different options:
- WebView Apps — The easiest way is to cover your site with WebView components in an Android app, essentially embedding your website in the app.
- Progressive Web Apps (PWA): Bring your site to life using modern web technologies and functionality that could otherwise leave your site's look and feel like an app. Users can ‘install’ PWAs directly on their devices, but these are not native Play Store apps.
- Fill React Native Templates: Fill your website with native or hybrid functionalities and render it as an Android and iOS App.
For most people who want something fast but professional, that would be the WebView or hybrid approach.
Preparations Before Conversion
Preparation is key! This is what you must do before commencing the conversion process:
- Responsive Website—Ensure that your site is responsive and optimized for mobile devices. Use Google’s Mobile-Friendly Test tool.
- SSL Certificate (Secure your website with HTTPS). Google Play mandates secure loading of content in apps.
- Content optimization — Improving Images, Scripts, and app Loading speed
- Step: Define App Features: You must determine whether you want features like push notifications, offline access, in-app purchases, etc.
- Brand Elements: Create and gather your logos, app icon (dimensions of 512x512 px), splash screen, and other graphic work.
Step-by-Step Guide: Convert Your Website
So, to transform your website into a professional Android app, we will take you through a step-by-step process.
Step 1: Select your Tool or Method for Conversion
Popular options include:
No-Code Platforms:
- WebViewGold
- Appy Pie
- Convertify
- Thunkable
- Kodular
DIY with Android Studio: If you are a coder, you can create a simple WebView app in Android Studio.
Part 2: No-Code Path
You can do it with a no-code tool like Appy Pie or Convertify.
- Register: Simply register on the Platform of your choice.
- Enter Your Website URL — Most platforms will have you enter your site address.
- Customize:
- Add your logo and app icon.
- Choose color schemes and themes.
- Set up navigation (side menu, tabs, etc.)
- Turn on some features like push notifications or offline access.
- Check Your App: Most of these platforms offer a live preview.
- Build and download APK: Make your Android app and download the APK file.
- Testing Your App: Download the APK to your device for test purposes.
Step 3: DIY with Android Studio (for Developers)
If you’re comfortable with Java or Kotlin, build your own WebView app:
Example Code (MainActivity.java):
Package com.example.webviewapp;
Import android.os.Bundle;
import android. Webkit.WebView;
import android. webkit.WebViewClient;
import androidx.appcompat.app.AppCompatActivity;
public class MainActivity extends AppCompatActivity {
@Override
protected void onCreate(Bundle savedInstanceState) {
super.onCreate(savedInstanceState);
setContentView(R.layout.activity_main);
WebView webView = findViewById(R.id.webview);
webView.getSettings().setJavaScriptEnabled(true);
webView.setWebViewClient(new WebViewClient());
webView.loadUrl("https://yourwebsite.com");
}
}
Steps:
- Open Android Studio and create a new Project.
- Put a WebView component in your layout.
- Now incorporate the code above into your MainActivity.
- This should have your website link, so replace https://yourwebsite.com
- Run your app on an Android device or emulator.
Last Steps: Putting your App in the Limelight
Show a branded graphical splash before your site loads
Push Notifications: Use OneSignal for free push notifications.
Feature offline support: Implement request caching or “pull-to-refresh” functionality to ensure an incredibly seamless experience.
Do one daily less sucky thing for your app: Request necessary permissions and no more, and respect your user's privacy.
Step 5: Test your Android app
- Test on Various Devices — Based on the device types, use various emulators (different screen sizes) and real devices.
- QAs commonly encounter broken links, slowness, UI freeze, etc.
- Helpful Content: Share the APK with your Friends/Beta testers and get their feedback
Step 6: How to Publish on the Google Play Store
- Register for a Developer Account: Sign up for the Google Play Console
- Prepare Store Listing — App name, description, screenshots, privacy policy
- Upload APK/AAB: Here, you will upload the build of your app.
- Pricing & Distribution - Where do you wanna offer your app and price(free or paid), etc
- Under Review: Your application gets reviewed by Google. (Usually after a week)
Choosing the Right Tool: A Comparison
|
Platform |
Pros |
Cons |
Best For |
|
WebViewGold |
Fast, reliable, supports features like push/pull |
Paid, less customizability |
Quick professional solution |
|
Appy Pie |
No coding, drag-and-drop, supports monetization |
Monthly fees, basic features |
Beginners, businesses |
|
Convertify |
Simple, affordable |
Fewer advanced features |
Simple websites |
|
Thunkable |
Highly customizable, drag-and-drop coding |
Learning curve |
Interactive apps |
|
Android Studio |
Fully customizable, powerful |
Requires coding knowledge |
Developers, custom features |
Customizing and Branding Your App
Not your ordinary app! So, forget about that! So here is how to make your app a standout app–
- Custom Icons and Splash Screens:
Create some custom designs (you can use Canva or Photoshop)
- Color Schemes:
Wear brand color matching for a consistent appearance.
- Navigation:
Side Menus, Bottom Tabs, or Any Custom Navigation (Upload & Learn From Other CJ)
- App Name and Package:
Pick a recognisable application name and unique ID (for example, com.yourbrand.app).
- Privacy Policy and Terms:
Integrate legal documents through in-app messages for compliance.
Testing Your Android App
You have to test to get the professional details.
- Functional Testing:
Ensure that the website features function within the app.
- Performance Testing:
Testing speed and resources used
- UX Testing:
Provide good navigation, text sizes, readable fonts, and simple controls.
- Bug Fixing:
Address any issues before publishing.
How To Publish Your App On Google Play Store
From the Publish your app page, perform the following:
Tip 1: Create a Google Play Developer Account
One-time $25 fee.
- Prepare Required Assets:
- App icon (512x512 px)
- Screenshots (various device sizes)
- Feature graphic (1024x500 px)
- Short and long app descriptions
- Complete Store Listing:
Complete all required information, including privacy policy and contact information
- Upload APK or AAB File:
Upload your app build to the Play Console
- Content Rating:
Complete the content rating questionnaire.
- Set Pricing and Distribution:
Select whether your app is free or paid, and choose your target countries.
- App Review:
Google will review your submission. Respond promptly to feedback.
- App Release:
When it gets approval, your app becomes live!
Maintaining and Updating Your App
- Monitor Analytics:
Track downloads and in-app occurrences with Firebase or Google Analytics
- Collect Feedback:
Do you have them write reviews or suggestions?
- Update Regularly:
Developer support: Update your app to solve bugs, add new features, and ensure it is up to par with current security standards, etc.
- Compliance:
Be alerted by Google Play policies and Android updates.
Frequently Asked Questions (FAQ)
Q1: Can I use it to convert any type of website?
A: Almost any site can be converted, but it may need to be tweaked if you have a site that relies heavily on desktop-specific features or unsupported plugins.
Q2: Do I need coding skills?
A: No-code platforms allow anyone to transfer a website—no programming skills are required. Android Studio is for power users who need more control.
Q3: Will my app work offline?
A: WebView apps need an internet connection by default. Caching or PWA technology will allow you to enable offline features.
Q4: How can I send push notifications?
A: Using services like OneSignal to integrate push notifications in little to no time.
Q5: How much does converting a site cost?
A: Costs vary. A few platforms offer free plans with restrictions, while others require a one-off or membership. The Play Store has a one-time $25 developer fee for publishing
Q6: Can I monetize my app?
A: Yes! Integrate ad networks, like AdMob, in-app purchases, or subscription models, depending on what your platform offers.
Conclusion
In 2025, it will be much more convenient and simple to convert your website into a professional Android app. You already have the right tools and plans in place. You can even experience the first feelings of your wings fully opened, leverage, and build engagement, reach, and brand image without reinventing the wheel.
This ultimate guide has shown you how to turn your website into a complete Android application regardless of whether you are a business owner, a blogger, or a developer. Remember:
- Start with a mobile-friendly website
- Choose the proper conversion method
- Customize and test thoroughly
- Publish and maintain your app
Do you have questions or need assistance? Comment below to share your thoughts or contact us for a personal tip. Good luck with your Android app journey.
Are you ready to convert your site into a professional Android application? Get started today and bring your brand new experience!


